
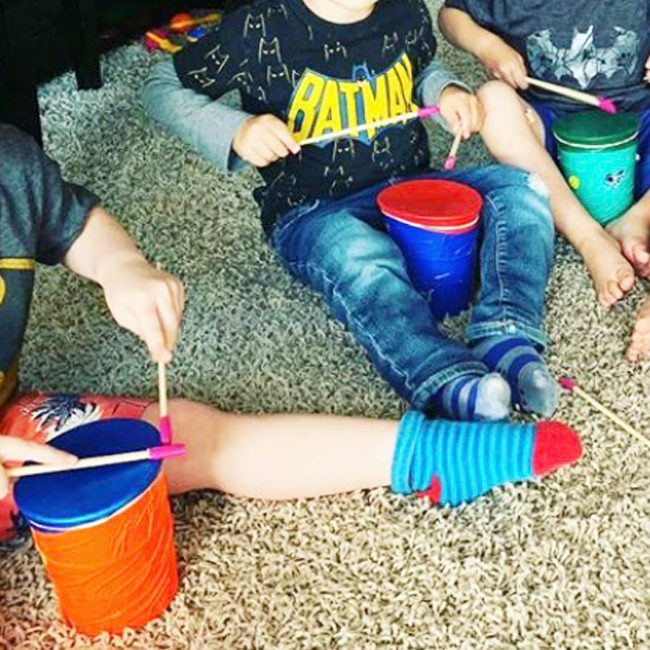
From my time teaching Preschool Music, I have learned and come up with many DIY musical crafts to get the kids interacting with different instruments. The great thing about these crafts is that most of them are made from items you would find in your own house, or craft cabinet (if you have one…if not, hit up the dollar store!); Many of the materials would be recycled, but are now given a new life!
Depending on your child’s age and level, you’ll know how much of the instrument creation they can do, and how much you’ll need to assist them with, but overall, try make the creation of the instrument an activity in itself, even if it’s just the decorating!!
Start saving those tin cans, folks. Or any containers that have that nice solid shape. Yogurt containers work as well, but they aren’t quite as strong!
What You’ll Need:
- tin can (used and cleaned)
- duct tape (colourful)
- balloon
- scissors
- elastic band(s)
- chop sticks
- stickers
Instructions:
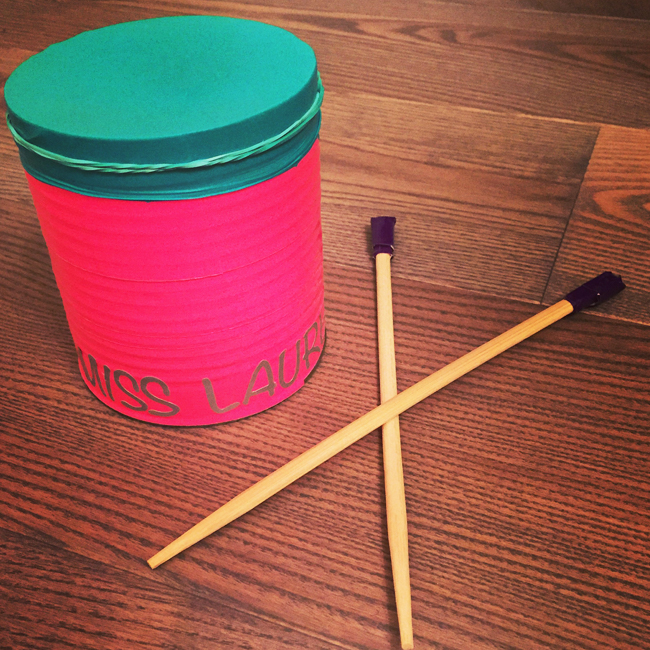
- With your nicely used and cleaned tin can, take colourful duct tape and line the outside of the can – now you have the beginning of a pretty drum!
- Cut the “stem” off of a balloon (the part that you would normally blow into), stretch it out a little with your fingers, and then use the balloon “head” to cover the open end of the tin can. Place an elastic band(s) around it to hold the balloon in place.
- Cover one end of each chop stick with duct tape (for soft drumming on the balloon top).
- Lastly, decorate, decorate, decorate – this is where fun stickers come in!
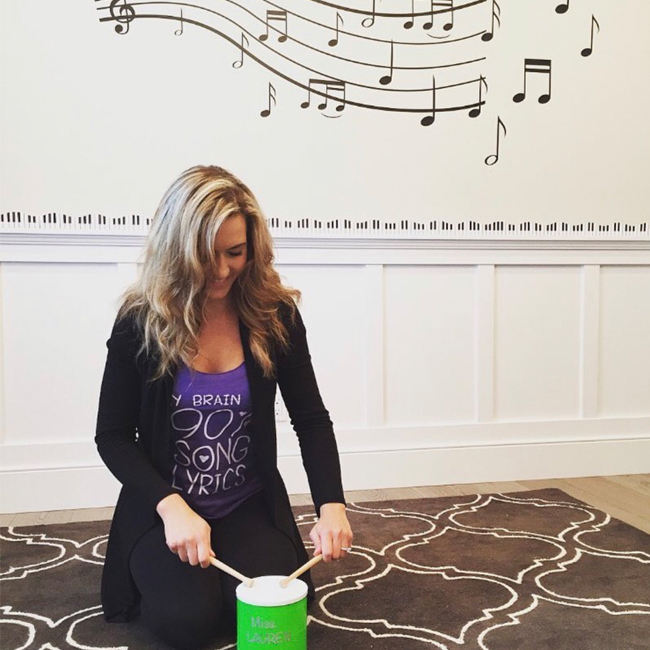
Now, go dance to the beat of your own (homemade) drum!