
From my time teaching Preschool Music, I have learned and come up with many DIY musical crafts to get the kids interacting with different instruments. The great thing about these crafts is that most of them are made from items you would find in your own house, or craft cabinet (if you have one…if not, hit up the dollar store!); Many of the materials would be recycled, but are now given a new life!
Depending on your child’s age and level, you’ll know how much of the instrument creation they can do, and how much you’ll need to assist them with, but overall, try make the creation of the instrument an activity in itself, even if it’s just the decorating!!

What You’ll Need:
- 3 plastic plates
- Paint Stick
- Scotch Tape
- (Colourful) Duct Tape
- Elastic bands (3 different sizes is preferable)
- Stickers
Instructions:
- Using scotch tape, tape the 3 plastic plates together to make them more sturdy [place a “double-sided” piece of tape in the centre of the bottom two plates, and then tape the outside edges of the set of plates four times, making a square formation].
- Using (colourful) duct tape, tape the paint stick onto the back of the plates (this will be your guitar’s fret board).
- Decorate the guitar with stickers!
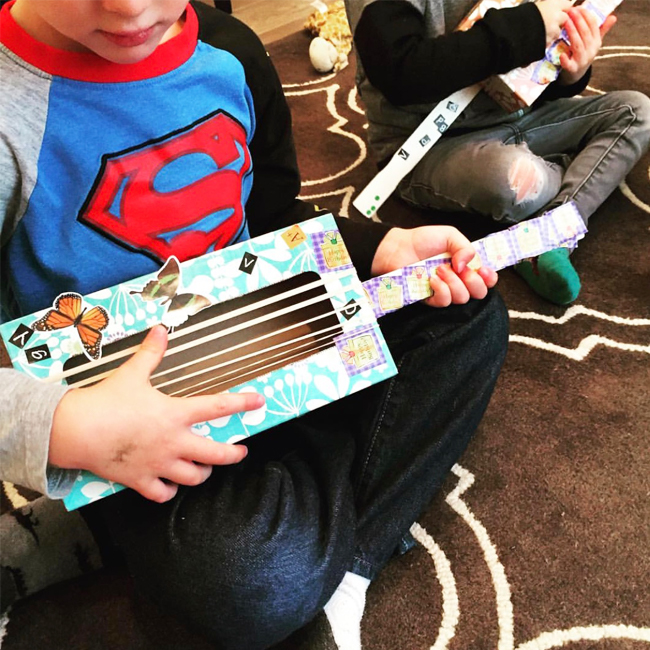
- Starting with your thickest elastic band, bring it over the plastic plates, so it runs parallel with the paint stick. Repeat this with all the elastic bands, having the thinnest elastic at the bottom [usually I put the third string on by coming from the bottom, instead of the top, like the previous two strings].
***Guitars have 6 strings, but 3 strings seems to be the perfect number to make a strong, sturdy guitar** - Then, strum and pluck, and make some tunes!
This can also be done with a tissue box and 6 strings – however, many tissue boxes aren’t strong enough. I find the very thin, rectangular Kleenex boxes work best.
Happy Strumming!