
Maybe you became a sourdough expert during the pandemic, or maybe like me, you were late to the party! I learned from my friend, Kayleigh, and I will forever be grateful for her sharing her starter, and coming to spend two days with me to help me learn the ropes. I love learning hands on, so being side-by-side as we went was so beneficial. Since then, I’ve asked and confirmed a bajillion questions with her, and fresh sourdough has become a family staple. So, let me teach you in a way that makes sense to me!!
Some Kitchen Tools You Need:
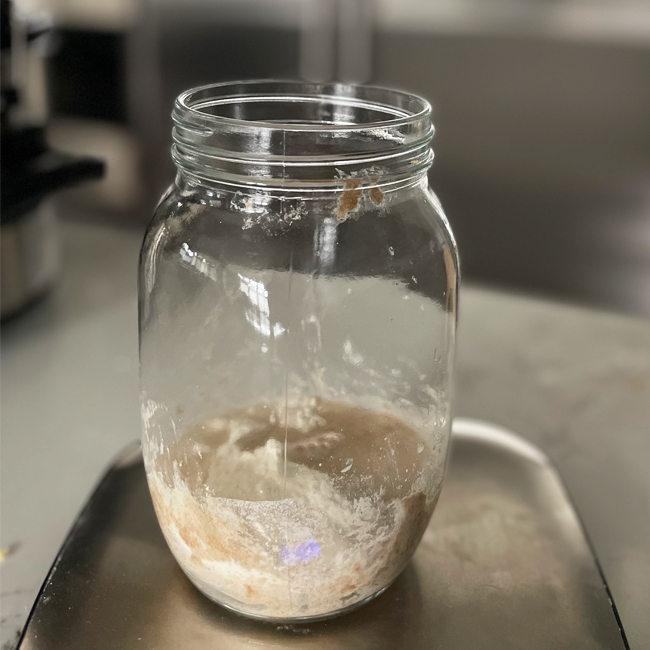
- Mason Jar (with Starter)
- None metal spatula (for stirring Starter)
- Food scale
- Plastic wrap, or a reusable version! [or these amazing stainless steel bowls with lids – medium size for making (and sometimes small if I’m doing a double loaf making session), large size for storing]
- Parchment paper
- Sourdough razor (or a very sharp knife)
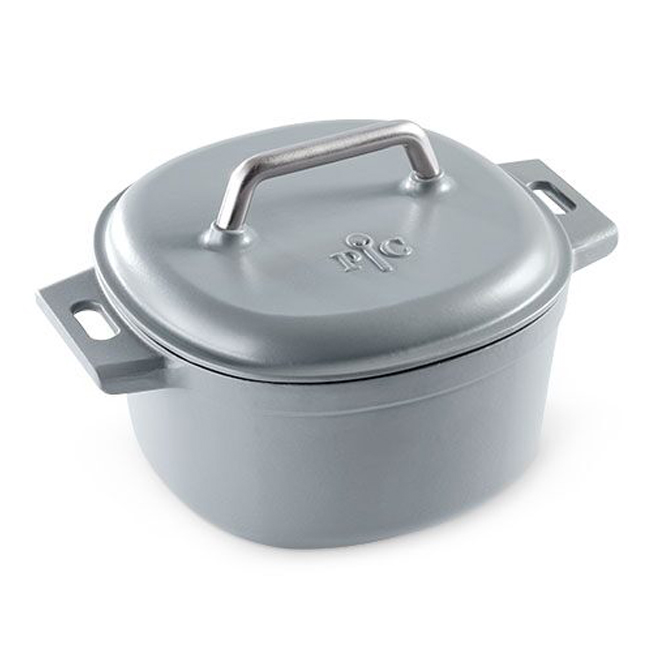
- Dutch oven (about 4 to 6-qt.)
Food Items You Need:
- Sourdough Starter
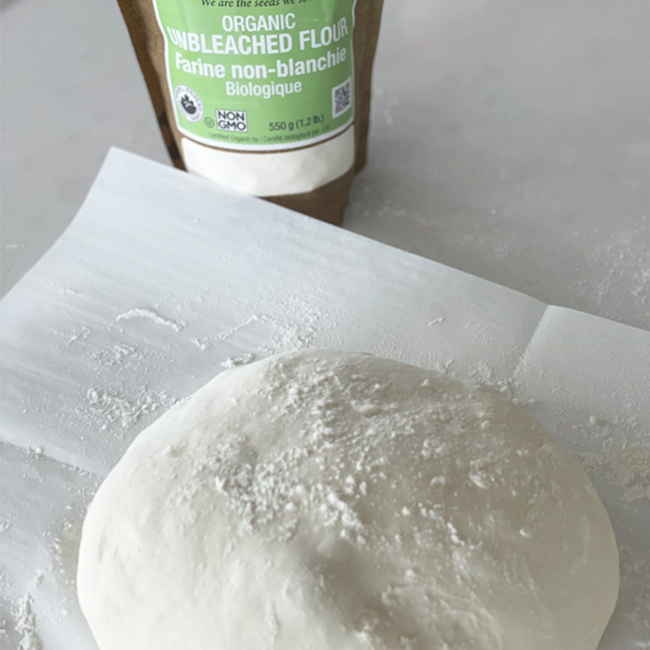
- Unbleached (white) flour [ideally, 100% Canadian wheat]
- Room temperature water (purified)
- Olive oil
- Pink Himalayan salt
Getting a Starter
This is key! You cannot make sourdough without a starter. That great thing is that once you have a starter, you can keep it in your fridge and just pull it out as often as you need in order to whip up another loaf. If you’re ready to make your own starter, here’s how to. Or you can try find someone who will share with you. Or you can go to your local bakery that sells sourdough, and likely will sell a starter too. Or, you can order dehydrated sourdough starter through me [link coming soon]!
[I store my starter in a large mason jar in the fridge, and if I don’t use it within 2 weeks, I’ll pull it out and “feed it” to keep it alive. This is different than many sourdough suggestions that keep starter at room temperature and feed it daily making for an excess of “discard.” My friend has said she’s also stored her starter in the fridge unused for up to 4 weeks and kept it alive, so don’t stress – your starter is stronger than you think, and the fridge will keep it from molding.]
Rehydrating Starter
Looking to rehydrate your dehydrated starter from me (or someone else)? This post will guide you through!
Dehydrating Starter
Going on a long trip and don’t want your starter to die? Learn how to dehydrate it here.
Sourdough Recipe
Day 1: 12pm – Feed the Starter
It does not need to be 12pm, but the next step has to be 6-8 hours later, and the final step needs to be 10-14 hours after that, so I’ve found that this is the best time that works for me.
- Place mason jar starter on scale and add equal portions (by weight) of unbleached flour and room temperature water. Add about 60-70g of each, because we want to end up with 90g of active starter. Stir with a none metal spatula until combined.
- Let starter sit, slightly covered (just enough to keep bugs out, but enough to still allow air in, so it can “breathe”), on the counter for 6-8 hours.
- I like to put an elastic band around the mason jar at the top of the starter, so you can visually see it rise.
Tip: If you ever wonder if your starter is good to start using after feeding it, you can check by putting a small amount into a cup of water and see if it floats. If it floats, it’s ready!
I find the starter is where people get confused – just know you are supposed to have excess starter, so that you can continue to use it forever and ever. So never let it get to zero!! After use, the excess starter can live in your fridge until you’re ready to use it again.
Day 1: 6-8pm – Make the Dough
I usually do this step around 5:30pm as we are making/eating dinner. You just want it to be 6-8 hours after feeding the starter, so the starter stays active.
Dough Ingredients
- 90g starter (stir prior)
- 385g room temperature water (cold water also works, but will slow the rise)
- 15g olive oil
- 520g unbleached (white) flour
- 12g pink Himalayan salt
Directions
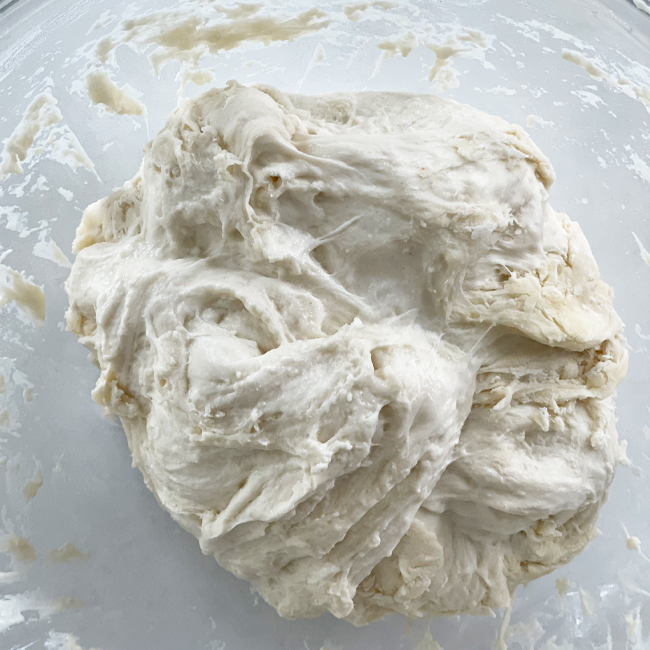
- In a large bowl [this medium size stainless steel bowl is my favourite], stir 90g starter with 385g water until cloudy (looks like milk).
- Add flour, oil, and salt. Mix – I like to mix by hand (it will be chunky and sticky).
- Cover with plastic wrap or beeswax wrap [or the lid of the bowl] for 15 minutes.
- Stretch and fold (using your hand, grab a portion of the dough from the outside and pull it over and into the centre; repeat until you’ve done it all the way around), and let it recover for 15 minutes (covered).
- Stretch and fold again. Cover with plastic wrap [or the lid of this bowl] and a dish towel, so it stays warm over night.
Day 2: 8am-ish – Bake Sourdough!
Now it’s time to the make the loaf, which is ideally 10-14 hours after you made the dough.
Directions
- Preheat oven to bake (not convection) at 475 degrees Fahrenheit.
- When oven is heating, do one last stretch and fold (this is also when you would add any additions to your sourdough, like cheese, for example).
- Put an empty dutch oven into the preheated oven for 30 minutes.
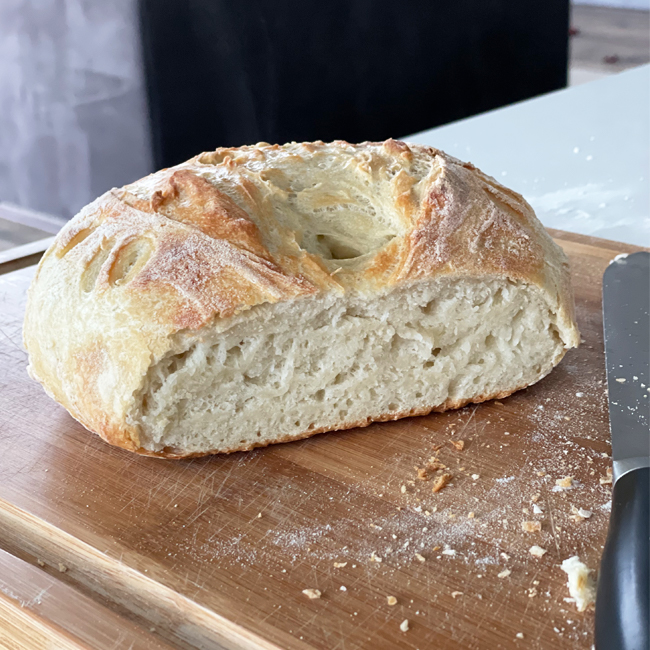
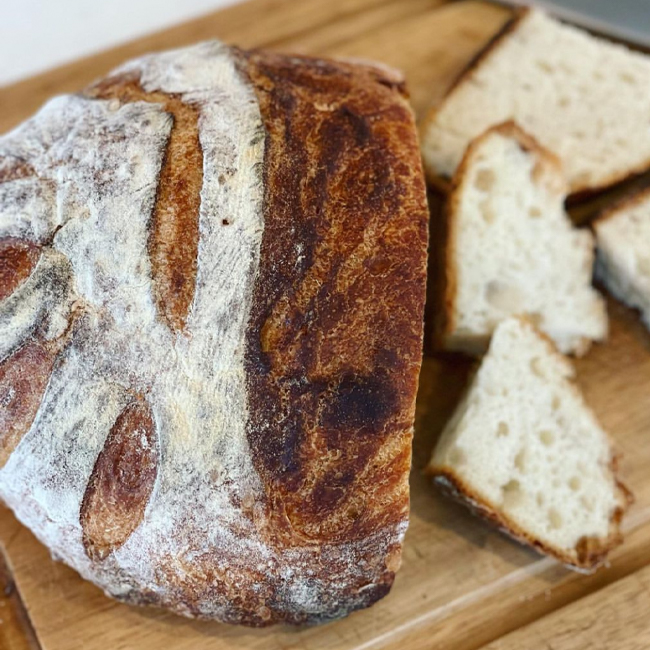
- At the 15 minute mark, shape dough on parchment paper (use additional flour and your hands to make a round loaf that is no longer sticky; keep rubbing your hands over the top towards the bottom, until you get desired texture). Sprinkle with flour and cut sourdough with razor from the top to the bottom of the loaf (allows bread to expand). [Any additional cuts (known as “scoring”) are just for show! The one large cut can be done on the side, if you want more room for pretty designs.]
- Place dough with parchment paper into hot dutch oven. Bake for 30 minutes with the lid on.
- Remove lid and bake for an additional 5-20 minutes, until desired crispiness. [8 minutes is my preference in my oven].
- Cool out of dutch oven, and then enjoy. [I love to store my sourdough in this large bowl].
Tip #1: Uncut bread freezes amazingly well! I always thaw covered on the counter the night before I want to eat it again.
Tip #2: If your sourdough has ‘dried out’, rinse it with water and bake again in the oven or air fryer for 5 minutes at 350 degrees Fahrenheit, and it will taste like brand new!!
Tip #3: If you’re finding the bottom of your sourdough is too crunchy, you can add dried/uncooked rice or dried/uncooked beans to the bottom of your Dutch oven after the pre-heat, and then place your parchment paper and loaf on top.
Enjoy, enjoy, enjoy!